Writing Your First Test
Writing Your First Test
Open up the cypress/e2e/missions.cy.ts file and replace its contents with the following:
describe("missions api", () => {
  it("should get missions", () => {
    cy.api({
      method: "GET",
      url: "/missions",
    }).as("response");
    cy.get("@response").its("status").should("equal", 200);
  });
});
Our first test (denoted in the it() block) will use the cy.api() method
(provided by the cypress-plugin-api package) to make a request to the
"/missions" endpoint. We'll use the
as() method to
alias the
result of the request. Aliasing in Cypress is how we store variables to
access them later.
Which is exactly what we do on the next line. The cy.get('@response') call
get's the response variable, and the its(status) call gets the status property
on the response object. This is the HTTP status code returned back from the API.
In the test, we want to verify that the code returned 200 for a successful
call. We might consider this the "it works!" of API tests.
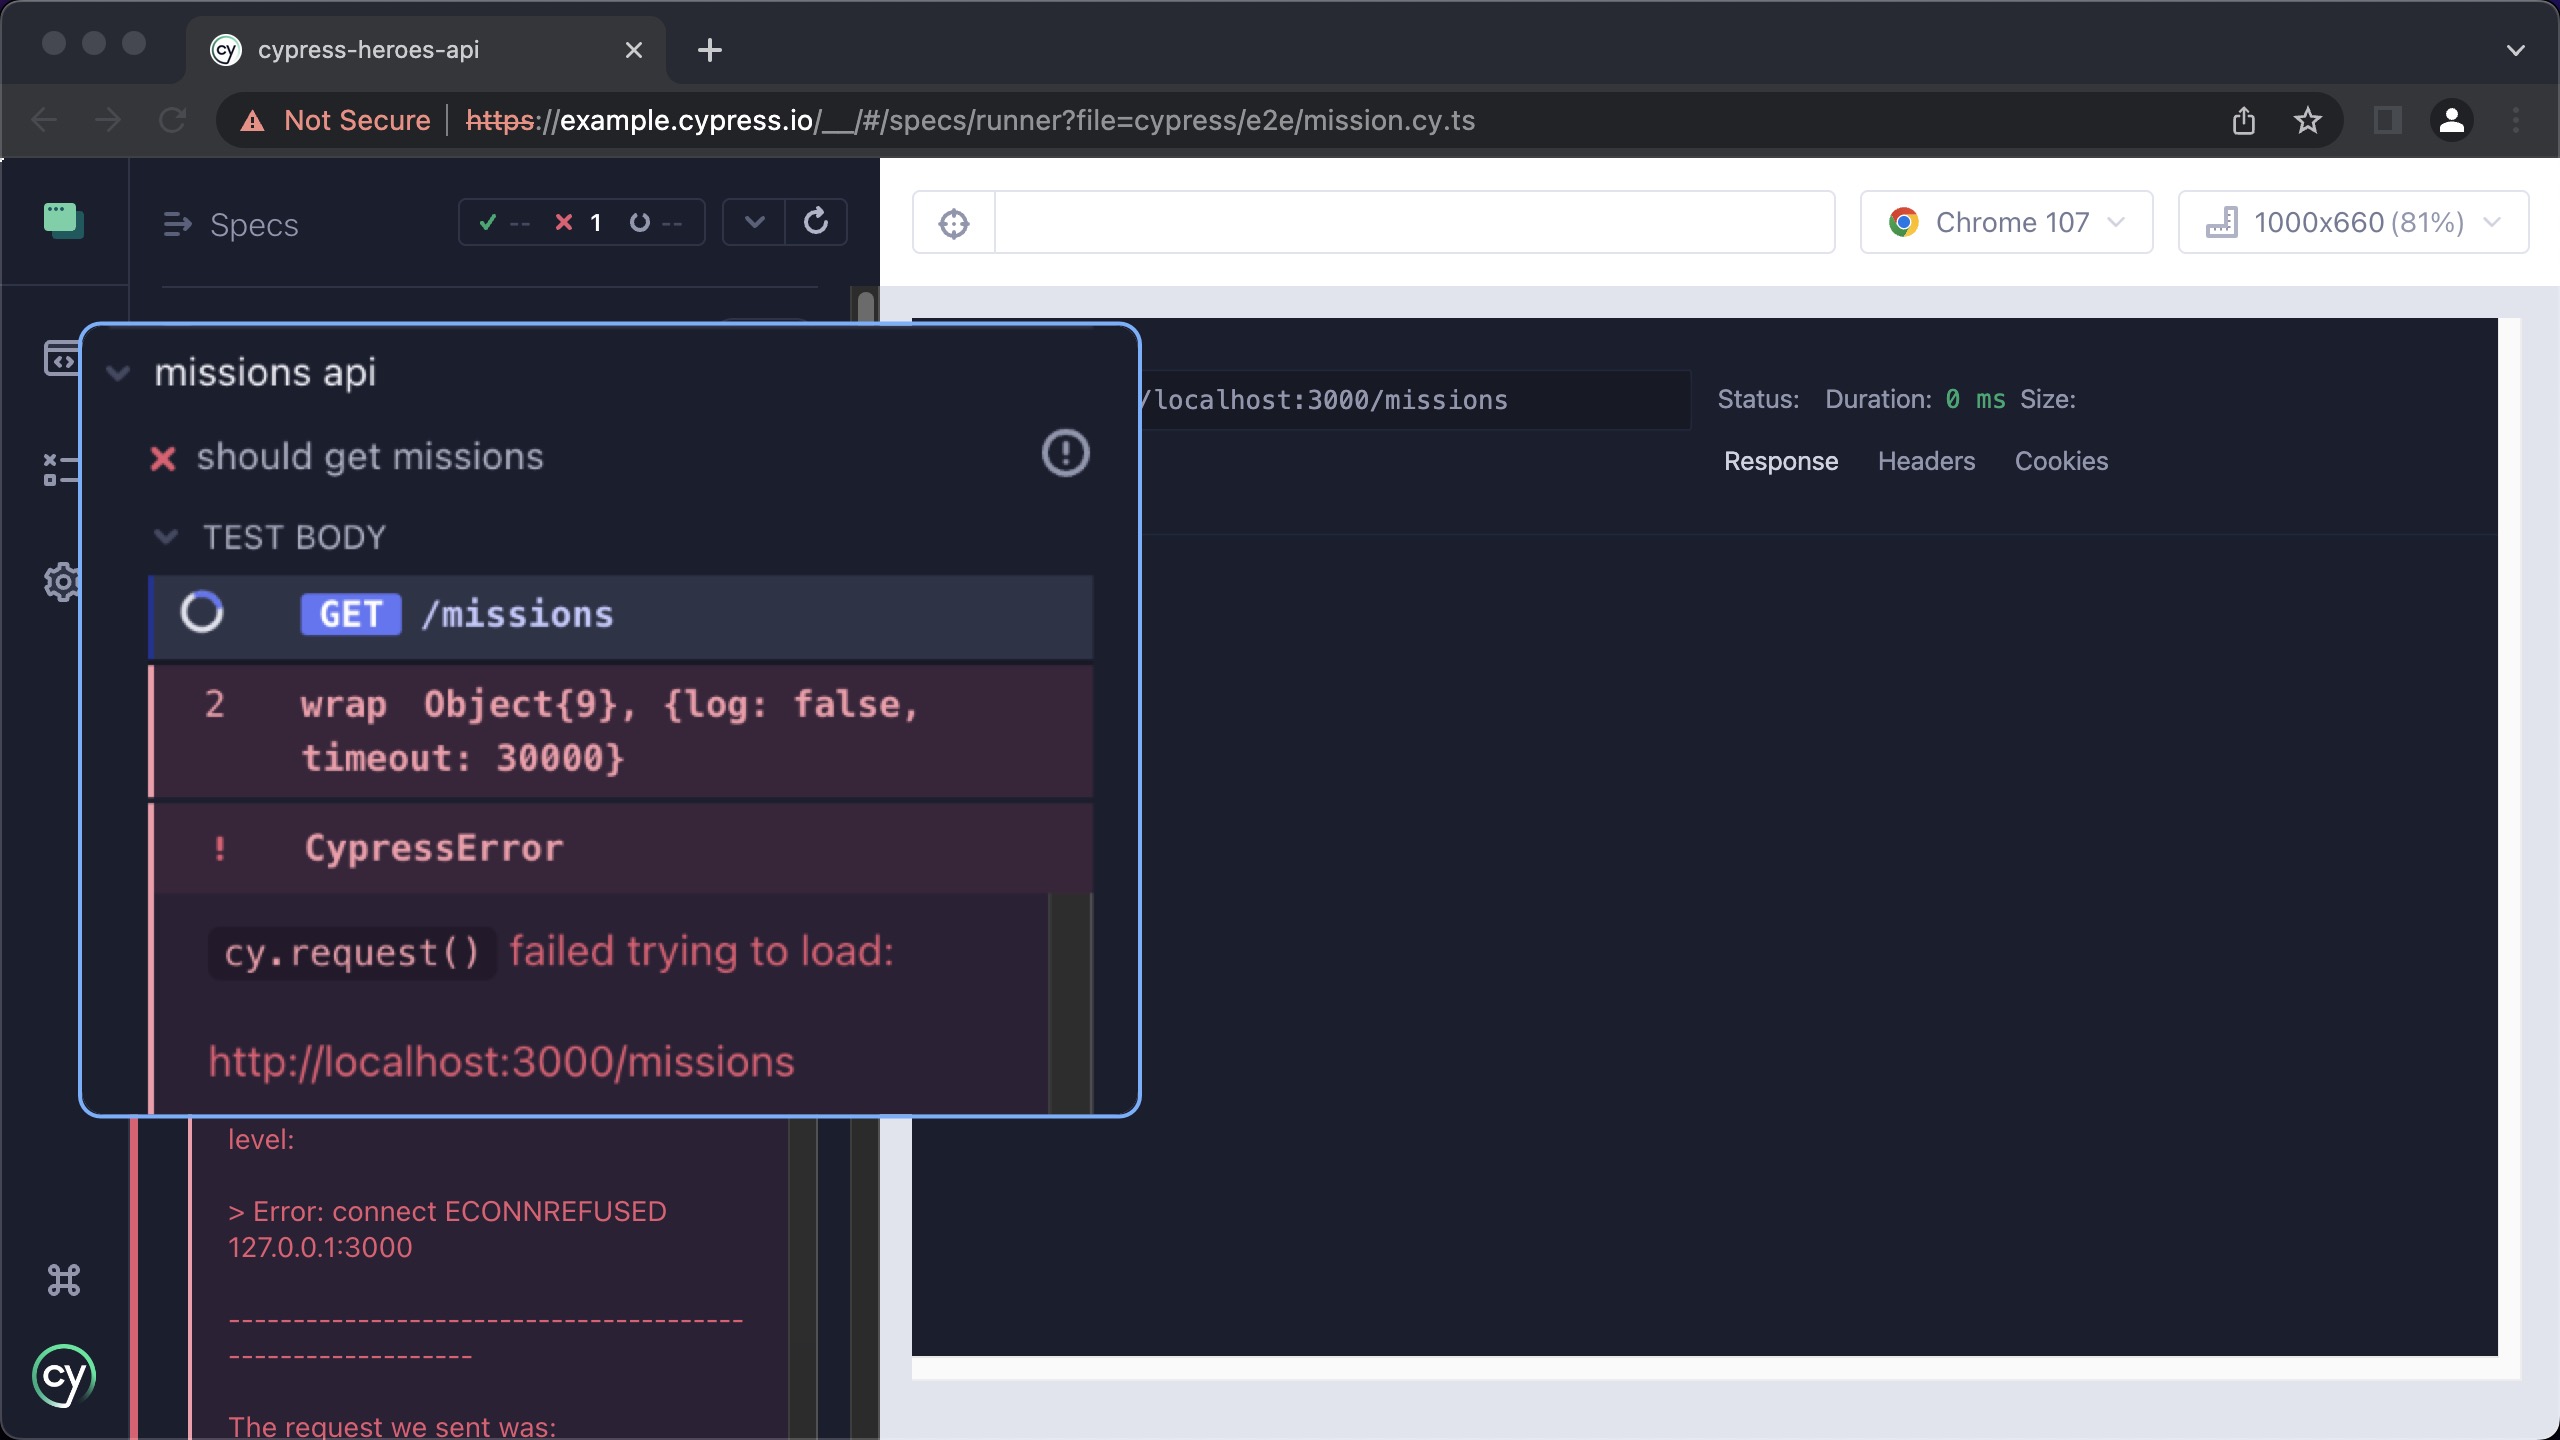
Save the spec and go back to the Cypress test browser. The spec will fail, but we expected it to since we have yet to implement any API. Let's do so now!

Getting Missions
Nest Missions Controller
Now, let's start to build out the API. The first thing we will need is a Nest controller. Controllers are responsible for listening and responding to HTTP requests. We can use the Nest CLI to generate a missions controller for us:
nest g controller missions
Now we have a basic controller scaffolded at src/missions/missions.controller.ts:
import { Controller } from "@nestjs/common";

@Controller("missions")
export class MissionsController {}
Controllers are plain JavaScript objects that are decorated with the
@Controller decorator. The decorator adds meta-data to the class that the
framework uses to determine which controller will respond to which HTTP
request. In this case, the MissionsController will respond to requests
that go to the "/missions" route (denoted by the parameter passed into the
controller).
The Nest CLI also modified the app.module.ts file for us, adding in the
MissionsController to the controller's array.
@Module({
  imports: [],
  controllers: [AppController, MissionsController],
  providers: [AppService],
})
export class AppModule {}
Our first API will be to return back a list of missions. Let's start simple and return back a hard-coded array:
@Get()
getList() {
  return [
    {
      description: 'save the world',
      complete: false,
    },
  ];
}
The @Get() decorator instructs Nest that the getList() method will respond
to HTTP GET methods. What gets returned from the method is what will be in the
response's body, automatically serialized as JSON. We can return something
synchronous as we do above, or if we return an async value (like a promise or
RXJS observable), then the value yielded from the async response will be in the
body.
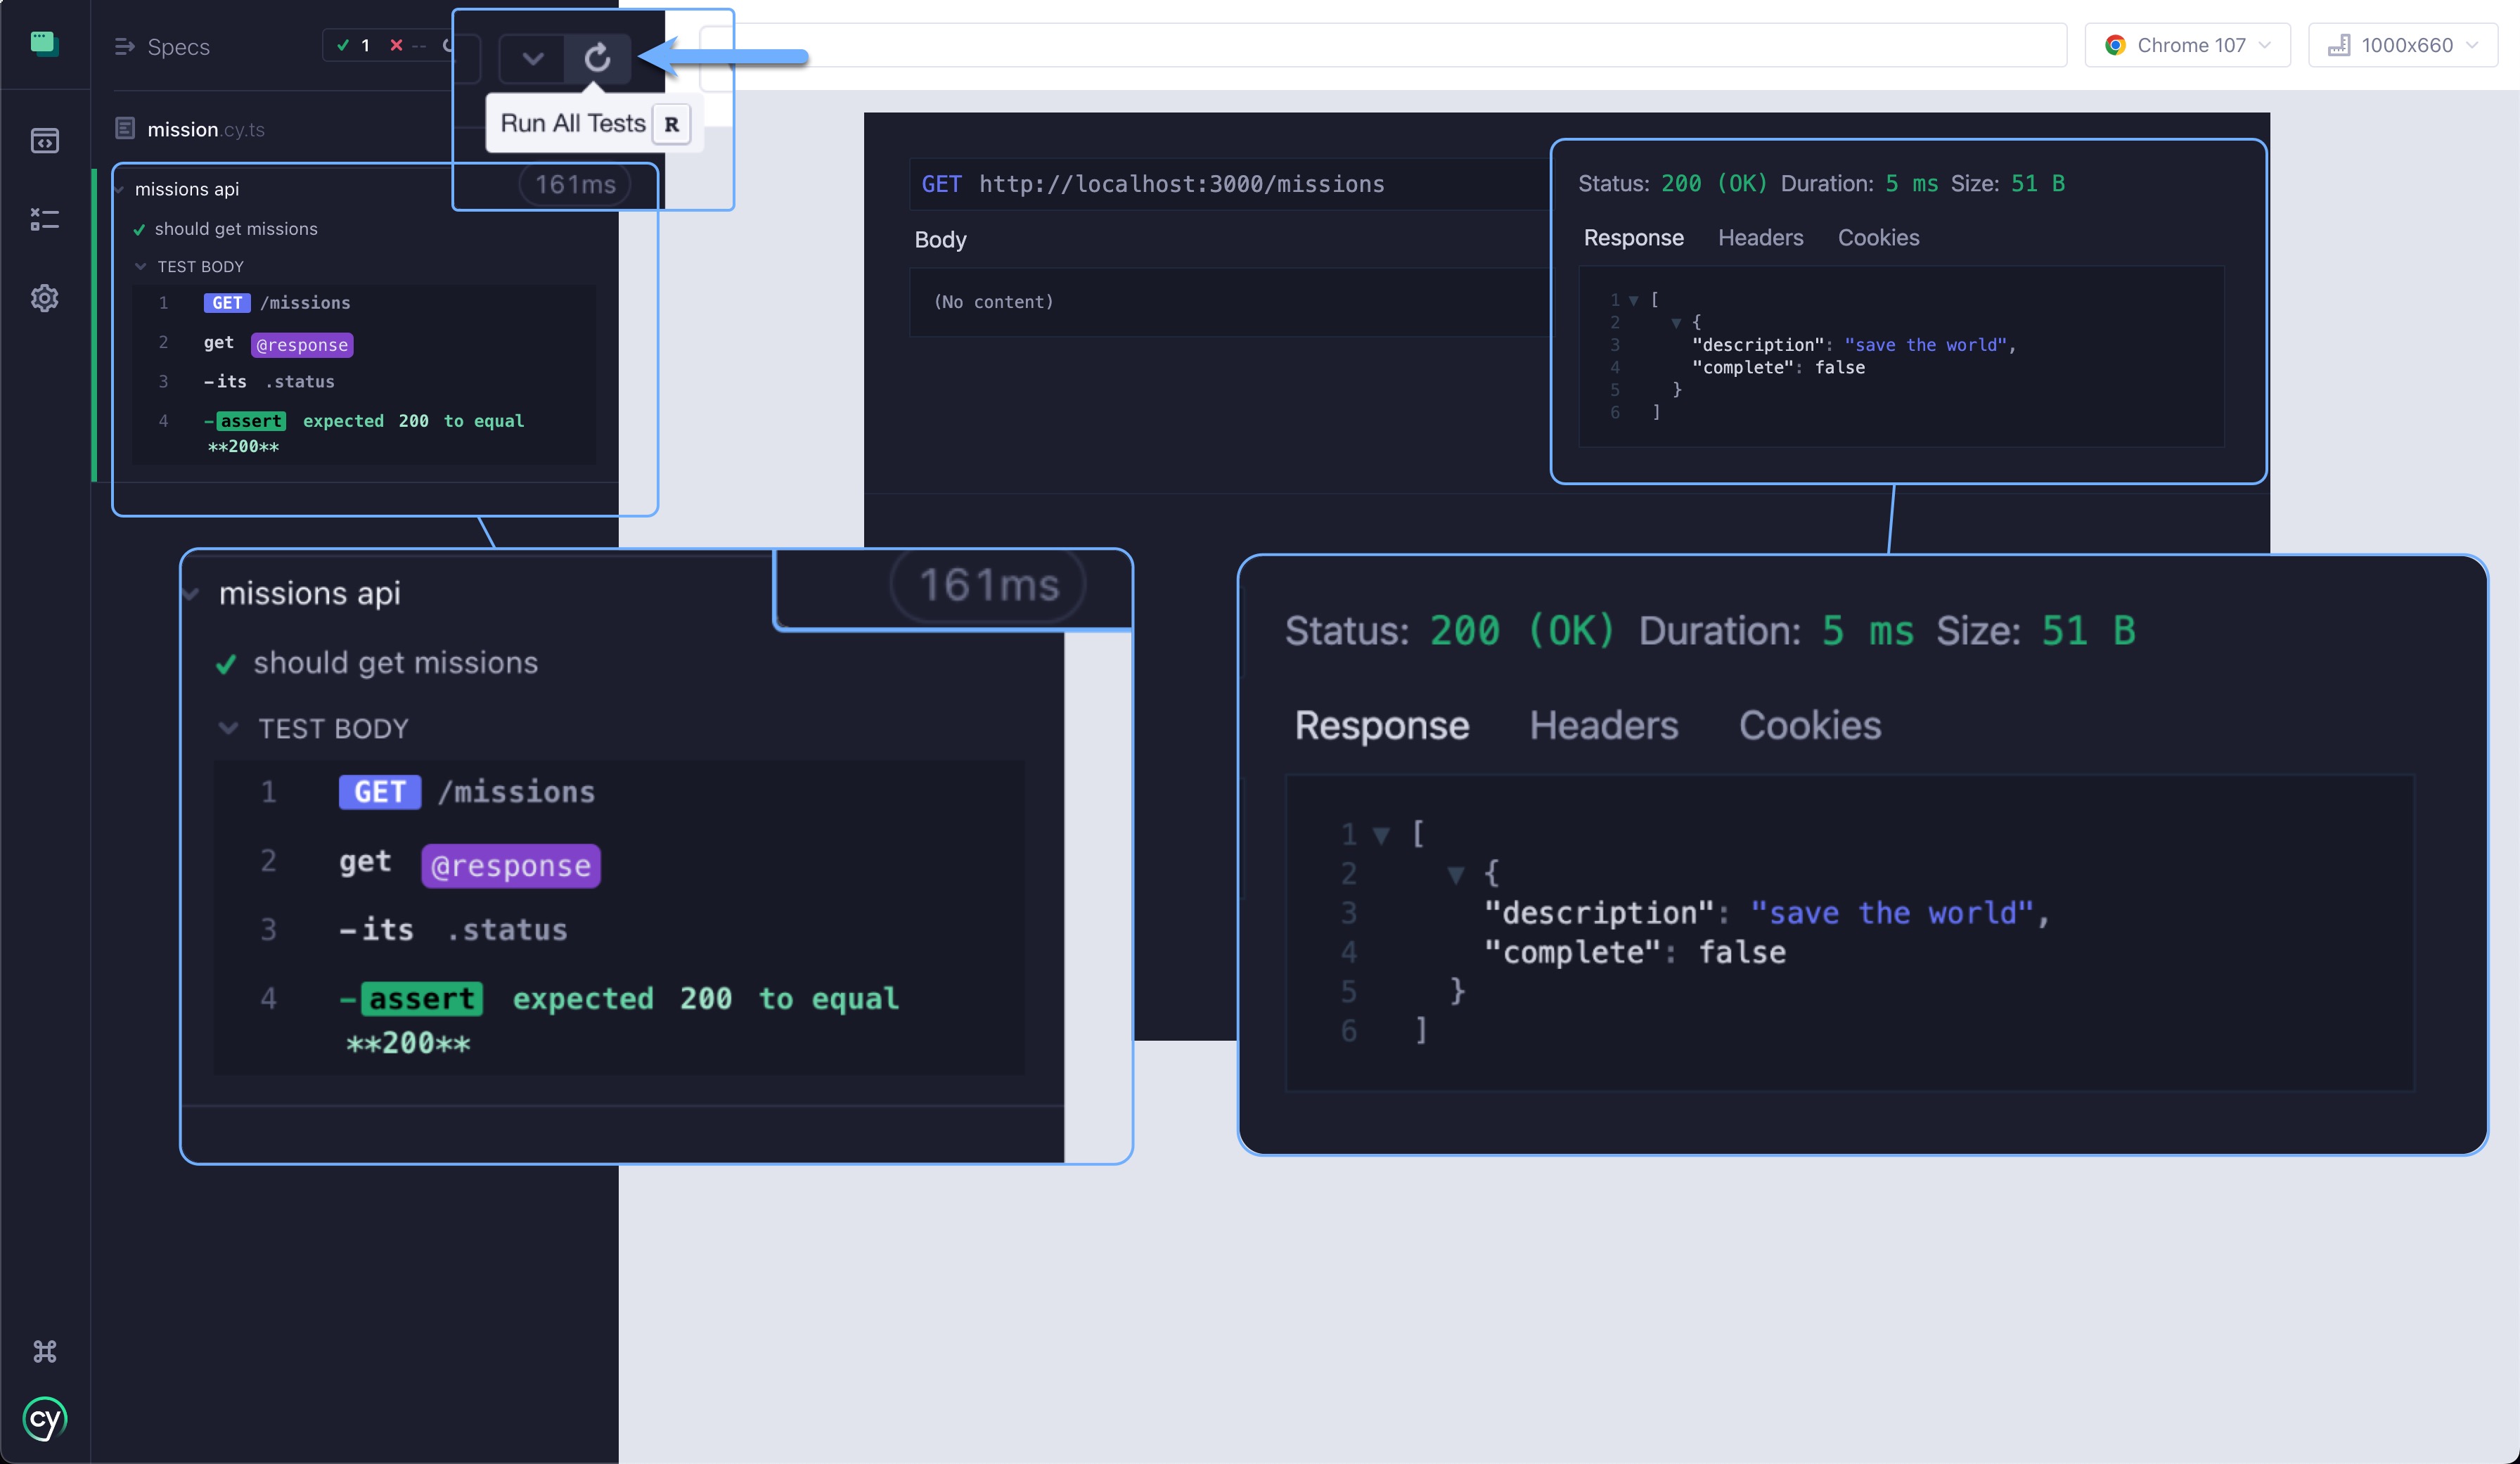
Back in the test runner, hit the "Run all specs" button to try the test again. This time the test will pass:

On the right, we can see the results and browse through the returned response (our hard-coded missions array), the headers, and cookies.
Great stuff, but we normally don't return back hard coded data. Much like Angular, Nest has the concept of services that are responsible for any type of business logic and communicating with other systems.
Nest Missions Service
Instead of using the hard-coded array, we will create a service responsible for handling all the mission data. Run the following command to create a new service from the Nest CLI:
nest g service missions
This will create a missions.service.ts file for us:
import { Injectable } from "@nestjs/common";

@Injectable()
export class MissionsService {}
A service is a JavaScript class marked with a decorator like a controller.
Angular devs will find Nest services very similar to their NG counterparts.
Unlike an Angular service, though, Nest doesn't have a providedIn option, so
the service has to be registered in a module (which the CLI already added to the app
module for us).
Let's refactor the code and return the missions from the service instead. First update the service with the following:
import { Injectable } from "@nestjs/common";

export interface Mission {
  id?: number;
  description: string;
  complete: boolean;
}

const defaultMission: Mission = {
  id: 1,
  description: "save the galaxy",
  complete: false,
};

@Injectable()
export class MissionsService {
  missions: Mission[] = [{ ...defaultMission }];

  getList() {
    return this.missions;
  }
}
Above, we first define a Mission interface that will be the data structure for
the missions. It will have an id with an optional type of number, a
description with a type of string, a complete with a type of boolean, and a
created with a type of string that will contain an ISO date string of when the mission was added.
Next, we define a default mission we will use to seed the database.
Speaking of databases, to keep things simple, we won't be using a real one here. Instead, we'll be using an in-memory array that I'll lovingly refer to as
ArrayDB™️. Therefore, each time we update the Nest app and it
recompiles/relaunches, we'll lose any modifications. Thus, we'll set the array
to contain the defaultMission when the service initializes. In a real app, we
would instead call into a data layer or ORM like TypeORM
or Prisma to manage data.
The getList() method returns everything currently in the array.
Next, update the controller to get a reference to the service via
dependency injection
(just like Angular!). Then, update the getList method to return the call from
the service instead of the hard-coded array:
import { Controller, Get } from "@nestjs/common";
import { MissionsService } from "./missions.service";

@Controller("missions")
export class MissionsController {
  constructor(private missionsService: MissionsService) {}

  @Get()
  getList() {
    return this.missionsService.getList();
  }
}
Now we can rerun the test, and if we see the description of the mission come back as "save the galaxy" (versus "save the world"), we know the API is returning data back from the service.