Lab 3 - CT (Part 1)
You will start your component testing journey in this lab by testing a relatively simple component. The Cypress Heroes app has a button component that would be a great example, so let's write some tests around that.

Getting Started
To get started, make sure your current branch is clean, and then checkout the
lab3-start branch:
git checkout lab3-start
You can find a completed version of this lab in the lab4-start branch.
Launch & Configure Cypress
The project still has Cypress installed, though it is not yet set up for Component Testing. When you re-launch the app Cypress will guide you through a configuration wizard to get you up and running quickly.
To start, go into the client folder and open Cypress:
npx cypress open
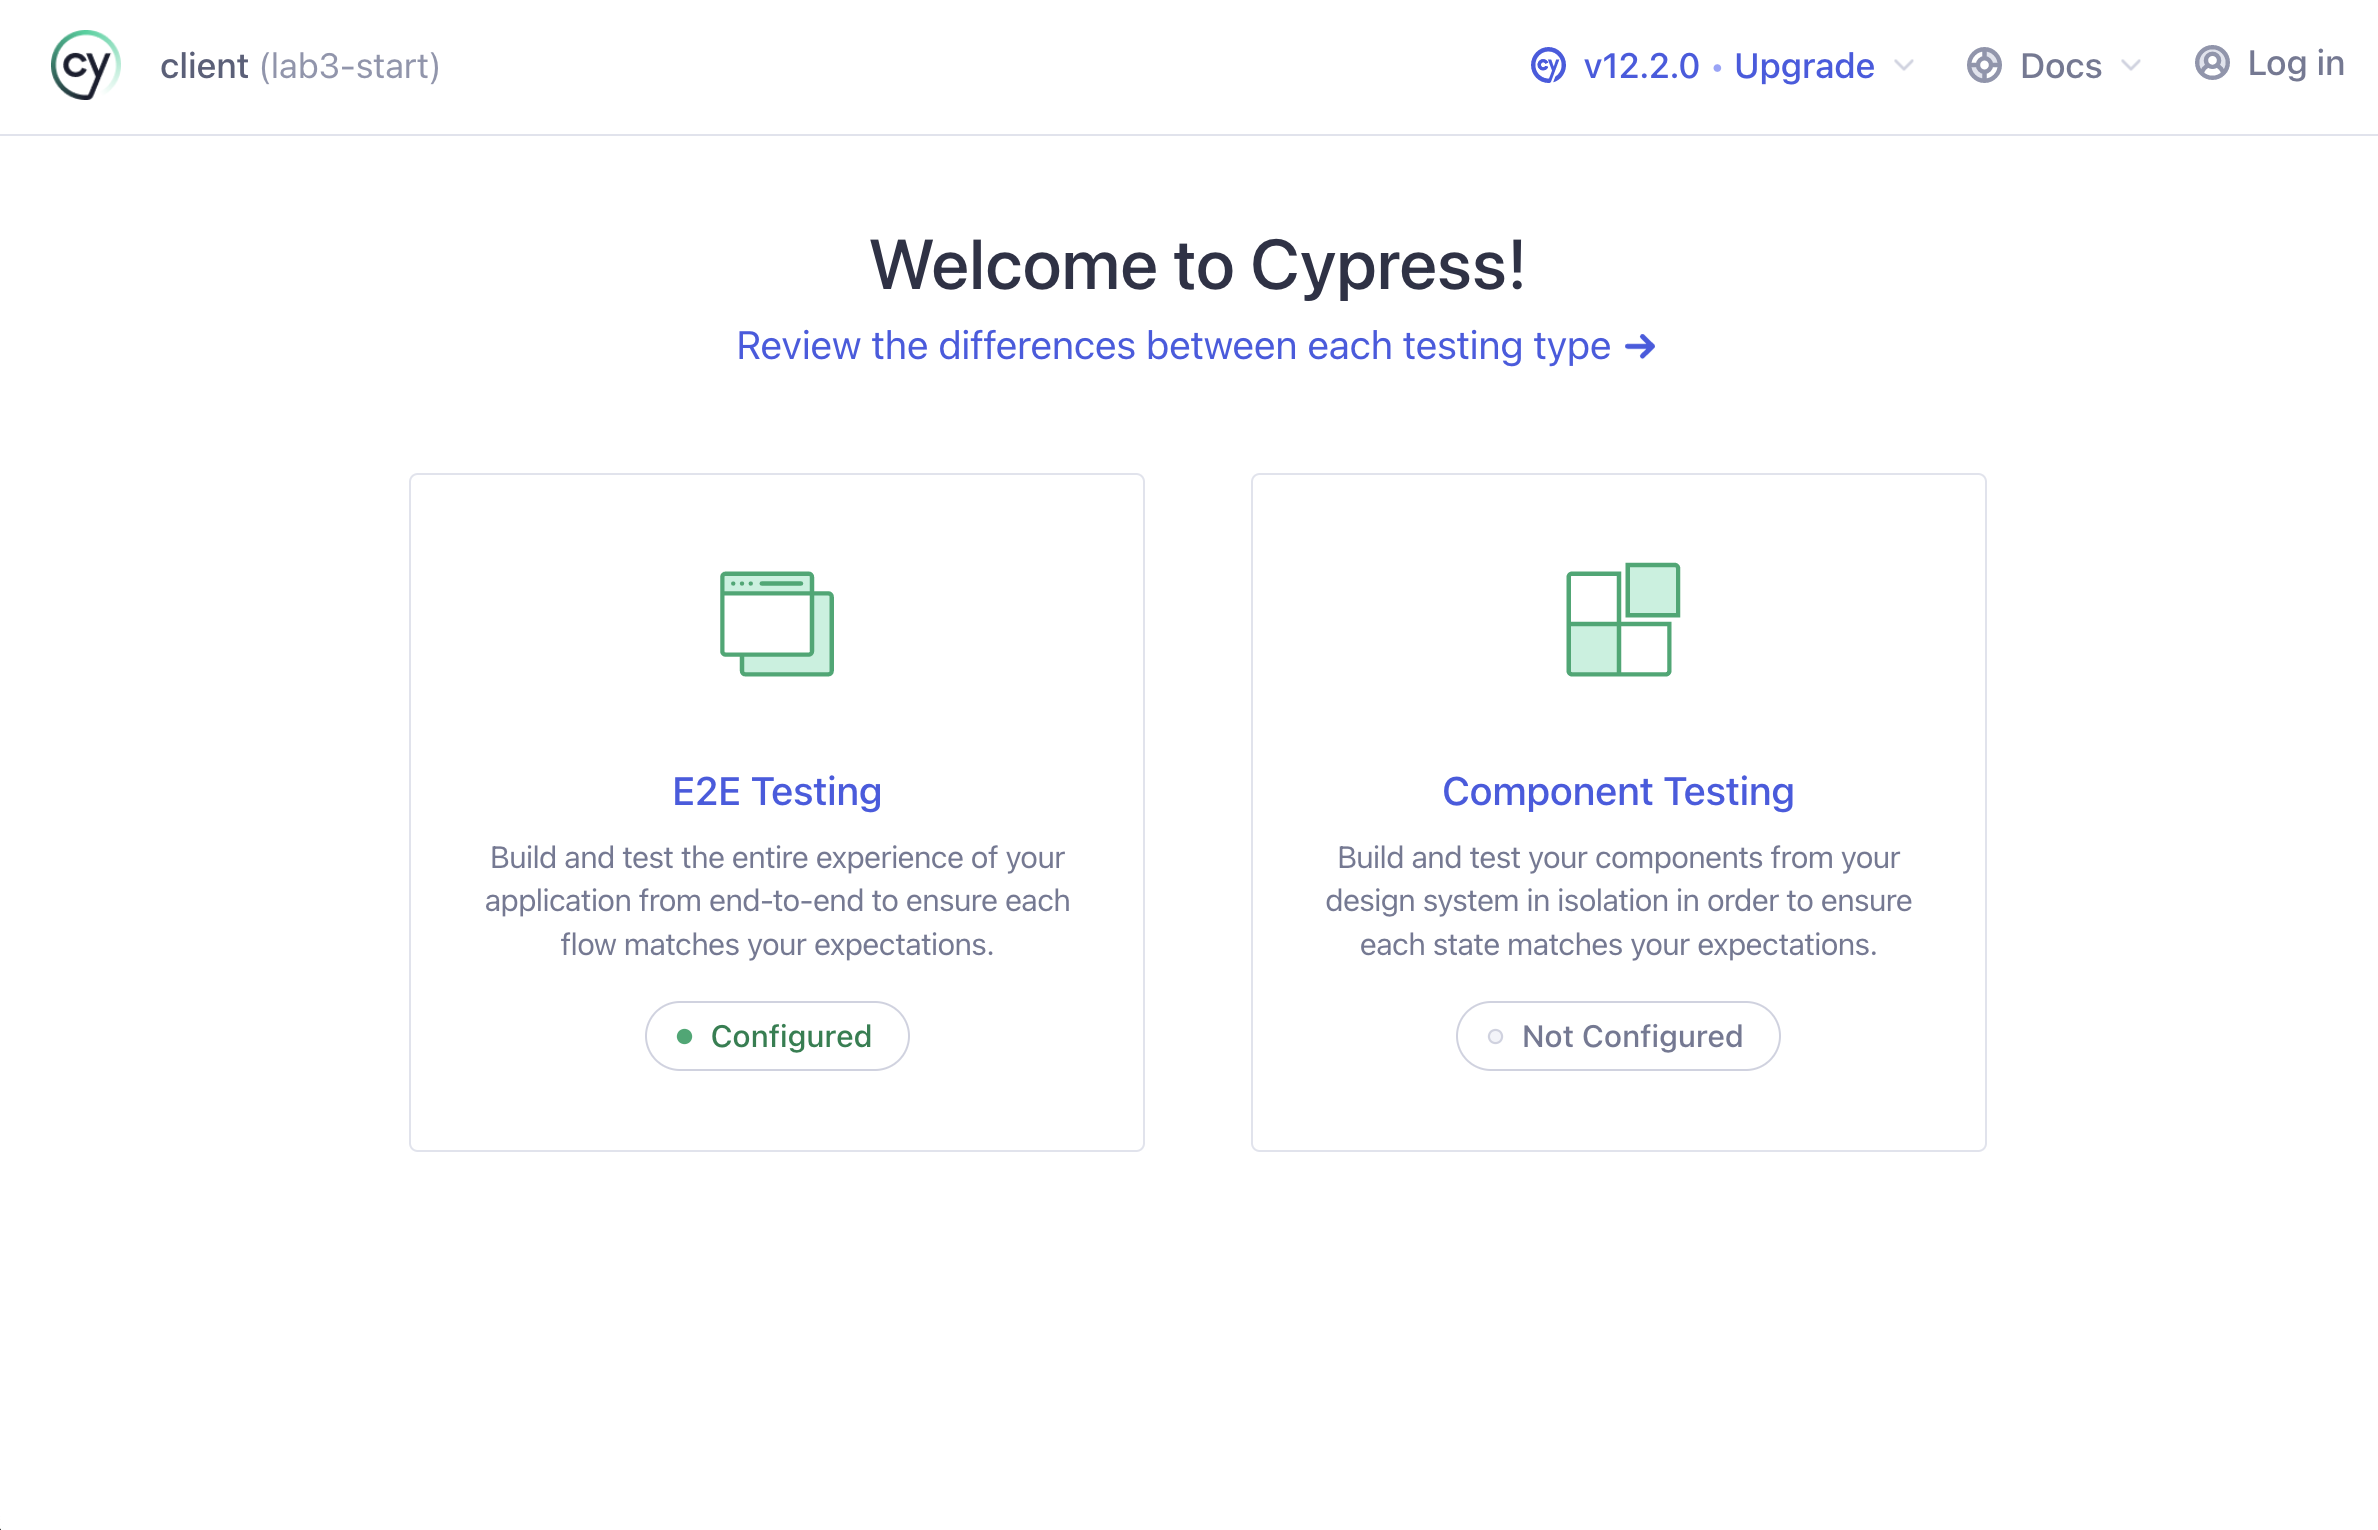
When Cypress launches, choose component testing.
Framework Detection
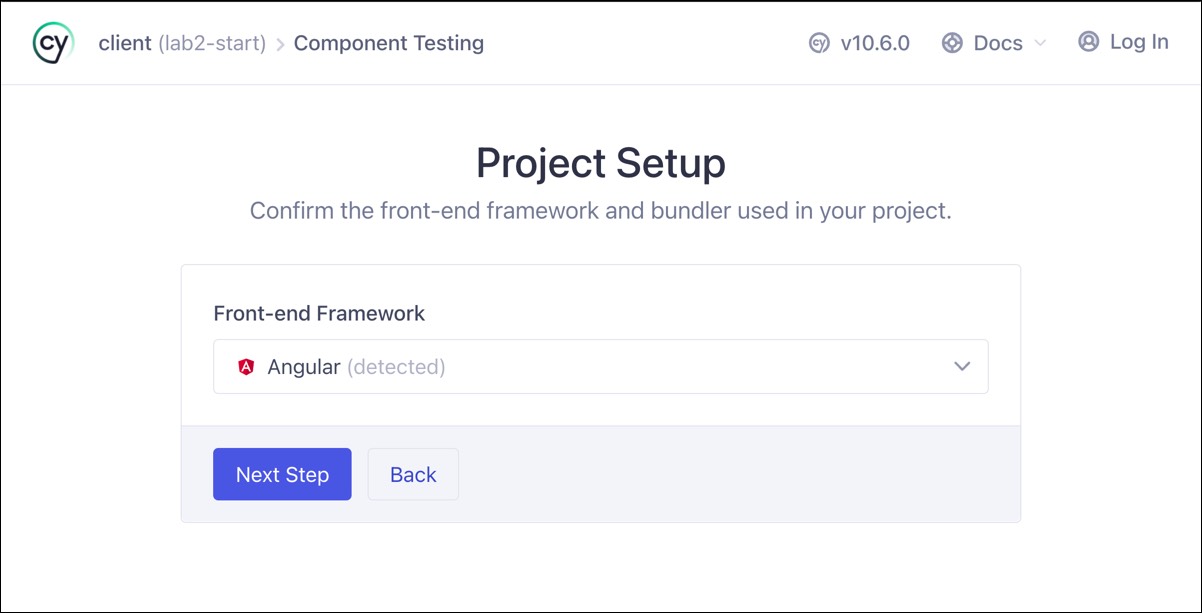
Cypress will automatically detect Angular as the framework and set up the configuration.
Click "Next Step"
Install Dev Dependencies
On the "Install Dev Dependencies" screen, you should have already installed all the required dependencies, but if they weren't, this screen would let you know what you need. Scroll to the bottom and click "Continue".
Configuration Files
The next screen shows all the files generated and added to your project. Scroll down and click "Continue".
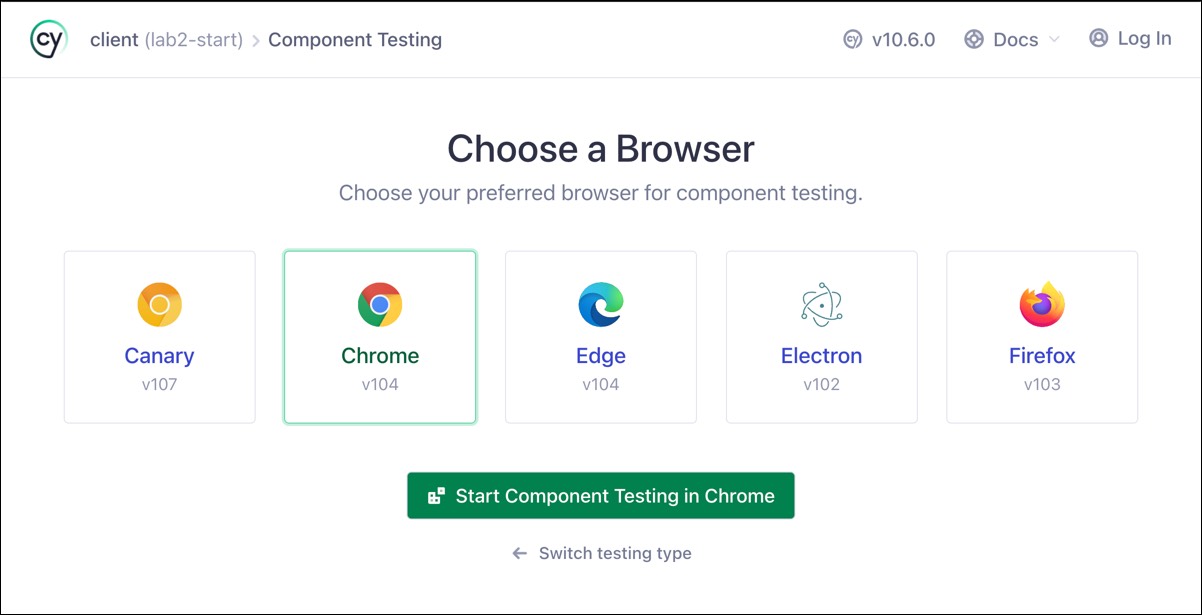
Choose a Browser
Now your project is set up. To launch the test runner, select which browser you would like to use for testing and click the start button.
Test Runner
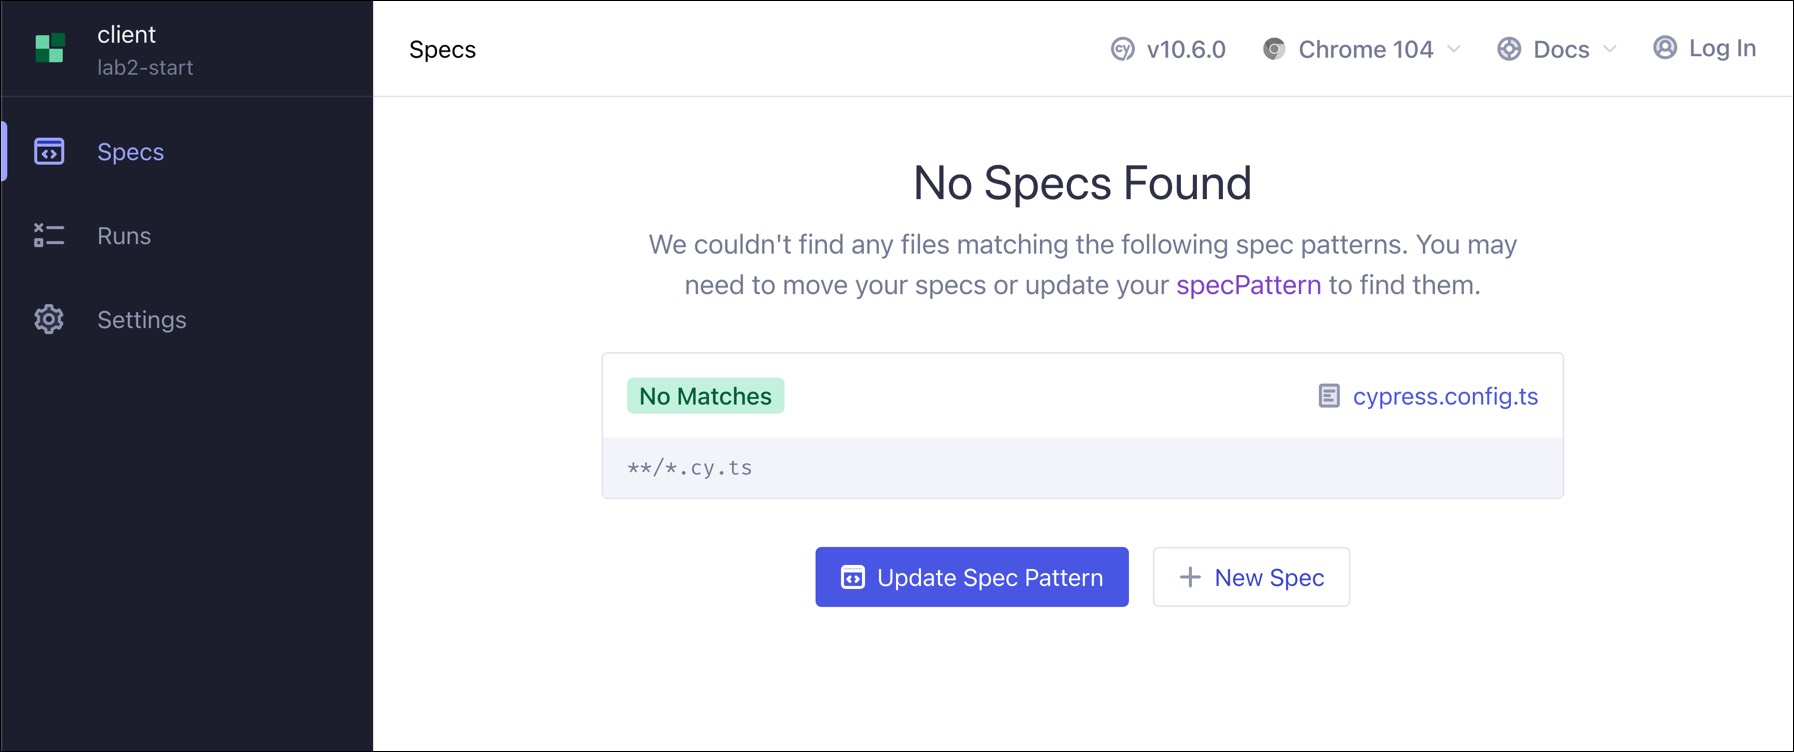
The spec list will show any files that match the default spec pattern of **/*.cy.ts. Our project doesn't have any tests yet, so we get a "No Specs Found" message. Let's hop into our code editor and create one.
Button Component Test
Create Spec File
Create a new file named button.component.cy.ts in the same directory that
the ButtonComponent currently exists (./client/src/app/components/button). We
recommend you co-locate your component tests directly next to your component
source.
Your First Test
In the spec file, add the following code:
import { ButtonComponent } from './button.component';

describe('ButtonComponent', () => {
  it('should mount', () => {
    cy.mount(ButtonComponent);
  });
});
Go back to the test runner and see that the new spec file has shown up in the spec list. Click the spec, and the test will execute:
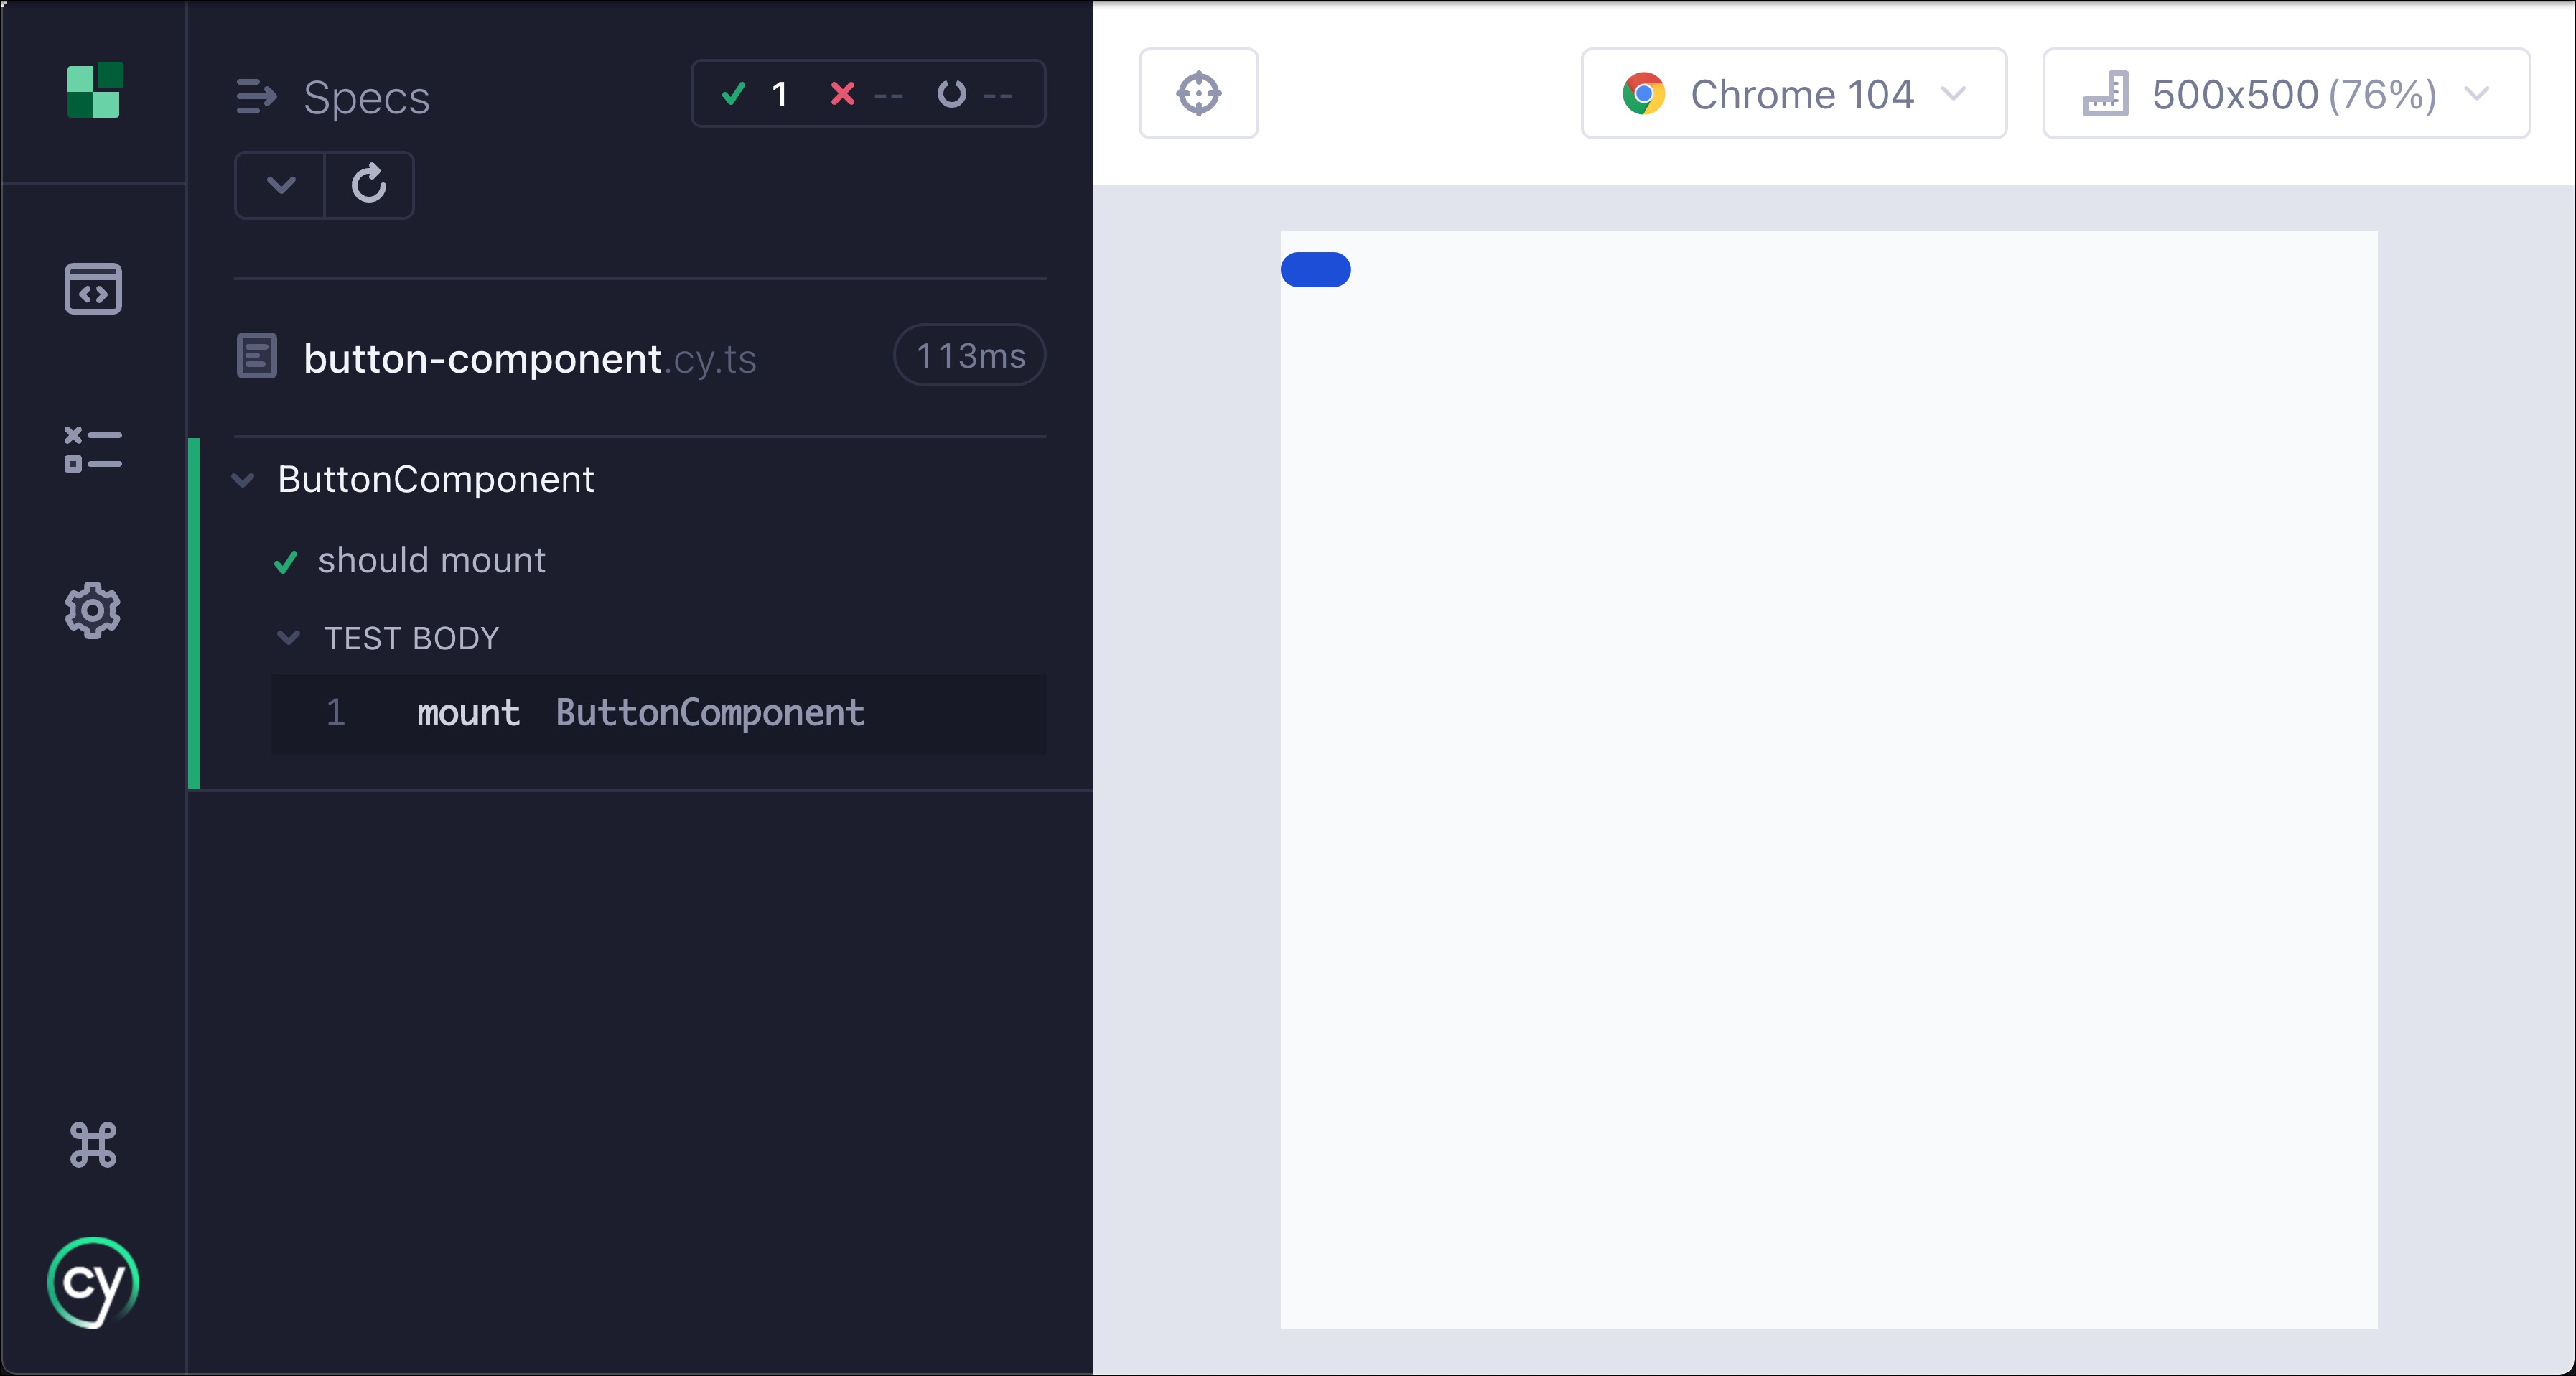
The component mounts but looks off because there is no label for the button. In a template, we pass the label to the button by including the text inside of the button's tag like so:
<app-button>Click me</app-button>
Using a Wrapper Component
One way to pass the text in a component test is to create a wrapper component
and then mount the wrapper instead. Let's create a second test that uses this
technique and verify the button has the proper label. Add the following inside
of the describe block below the first test:
it('should have custom text', () => {
  @Component({
    template: '<app-button>Click me</app-button>',
  })
  class ButtonWrapper {}

  cy.mount(ButtonWrapper, {
    declarations: [ButtonComponent],
  });
  cy.get('button').should('have.text', 'Click me');
});
@Componentis imported from '@angular/core'
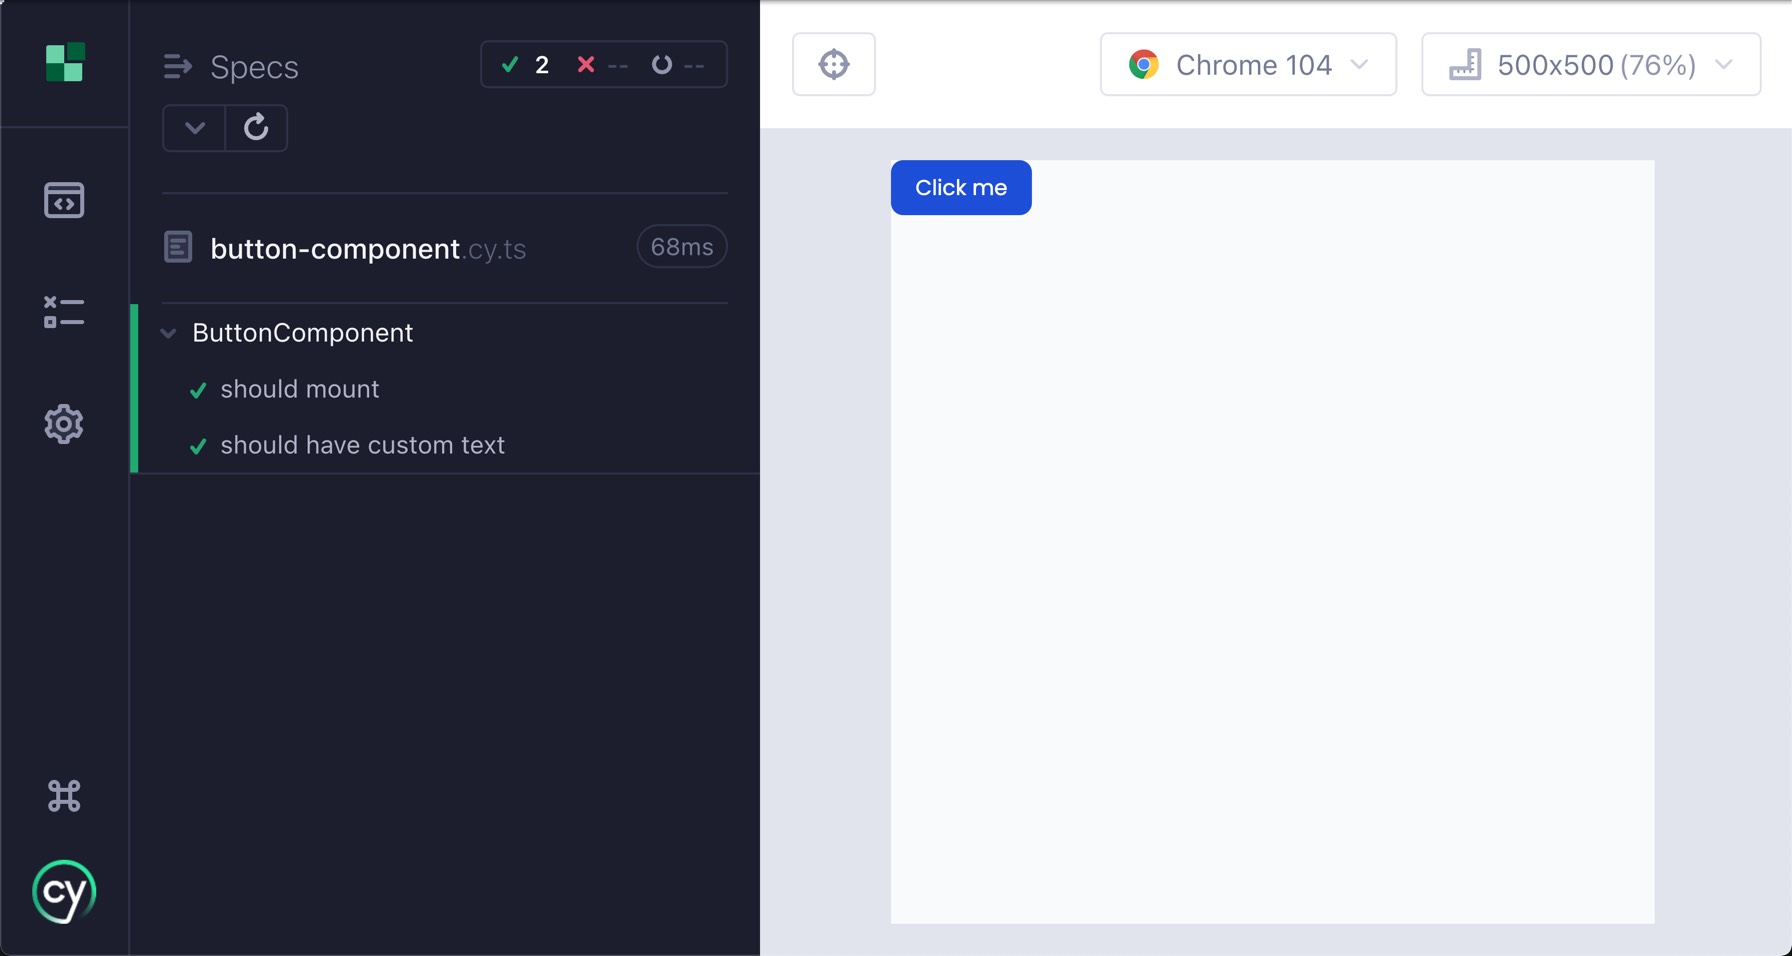
Now our button looks like it should, and the test also passes:
Using Template Syntax in cy.mount
Creating a wrapper component could become tedious, but fortunately, another method is at your disposal.
The cy.mount command can also accept a template string as its first parameter.
You could also write the test above as:
it('should have custom text', () => {
  cy.mount(`<app-button>Click me</app-button>`, {
    declarations: [ButtonComponent],
  });
  cy.get('button').should('have.text', 'Click me');
});
We must supply our component as a declaration in the config object when using the template syntax. In the next lab, we'll look at centralizing component setup and registration in a single place, so it doesn't have to happen in every test. But for now, let's write some more tests for our button.
Testing Button with an @Input
The button component has several inputs that change its functionality. We'll
take a look at the focus input, which has the button set to focus on itself if
the input is true.
Passing inputs to a component depends on whether you are passing in a component to the mount command or using the template syntax. We'll go over both approaches here.
Testing Focus using Component Syntax
When using component syntax, you pass in additional options to the component in
the componentOptions member of the config object like so:
it('should be focused when focus input is true', () => {
  cy.mount(ButtonComponent, {
    componentProperties: {
      focus: true,
    },
  });
  cy.get('button').should('have.focus');
});
A nice benefit of using the component syntax is that componentProperties will
be properly typed to the inputs/outputs of the passed-in component, so you will
get type checking and code completion.
Testing Focus using Template Syntax
When using template syntax, you would wire up the component as you would in a component template, using Angular's binding syntax to attach variables and events to the component:
it('should be focused when focus input is true', () => {
  cy.mount(`<app-button [focus]="true">Click me</app-button>`, {
    declarations: [ButtonComponent],
  });
  cy.get('button').should('have.focus');
});
Testing an Emitted Event
The ButtonComponent emits an onClick event when a user clicks it. Let's
write a test to verify that the event does get raised when doing so.
To verify the onClick event is called, we'll use a
Cypress spy,
which keeps track of method calls and lets us inspect those values.
Testing onClick using Component Syntax
it('should respond to onClick event', () => {
  cy.mount(ButtonComponent, {
    componentProperties: {
      onClick: {
        emit: cy.spy().as('onClickSpy'),
      } as any,
    },
  });
  cy.get('button').click();
  cy.get('@onClickSpy').should('have.been.called');
});
We cast the onClick emitter as any here, so we don't have to mock all the
methods an EventEmitter has. We'll see a better method for this in a moment.
Testing onClick using Template Syntax
it('should respond to onClick event', () => {
  cy.mount('<app-button (click)="onClick.emit($event)">Click me</app-button>', {
    declarations: [ButtonComponent],
    componentProperties: {
      onClick: {
        emit: cy.spy().as('onClickSpy'),
      },
    },
  });
  cy.get('button').click();
  cy.get('@onClickSpy').should('have.been.called');
});
Using createOutputSpy to Mock Emitters
In the previous tests, we mocked the onClick output by defining an object with
an emitted event, which we assigned to a Cypress spy. In the component syntax
example, we also had to cast that mock as any, which is always a code smell.
We know this wasn't ideal, so we created a helper function called
createOutputSpy that mocks an event emitter for you:
it('should respond to onClick event', () => {
  cy.mount(ButtonComponent, {
    componentProperties: {
      onClick: createOutputSpy('onClickSpy')
    }
  })
  cy.get('button').click()
  cy.get('@onClickSpy').should('have.been.called')
});
createOutputSpyis imported from 'cypress/angular'
createOutputSpy sets up a spy and creates an
aliases
using the string passed as a parameter to identify the alias.
We also have a method to automatically create spies for all outputs if you are using the component syntax. See Using autoSpyOutputs in the docs for more info.