Lab 5 - API
We will finish our workshop by testing our API. Logging in as a user is a vital part of our application, so let's write some tests around the /auth endpoint.
Getting Started
To get started, make checkout the lab5-start branch:
git checkout lab5-start
You can find a completed version of this lab in the complete branch.
If the app is not currently running, start it:
npm run start
Installing Cypress
To begin you need to first install cypress as a dev dependency in our project:
npm install cypress@latest -D
Launching Cypress
Once you have cypress installed in our project you are ready to launch it:
npx cypress open
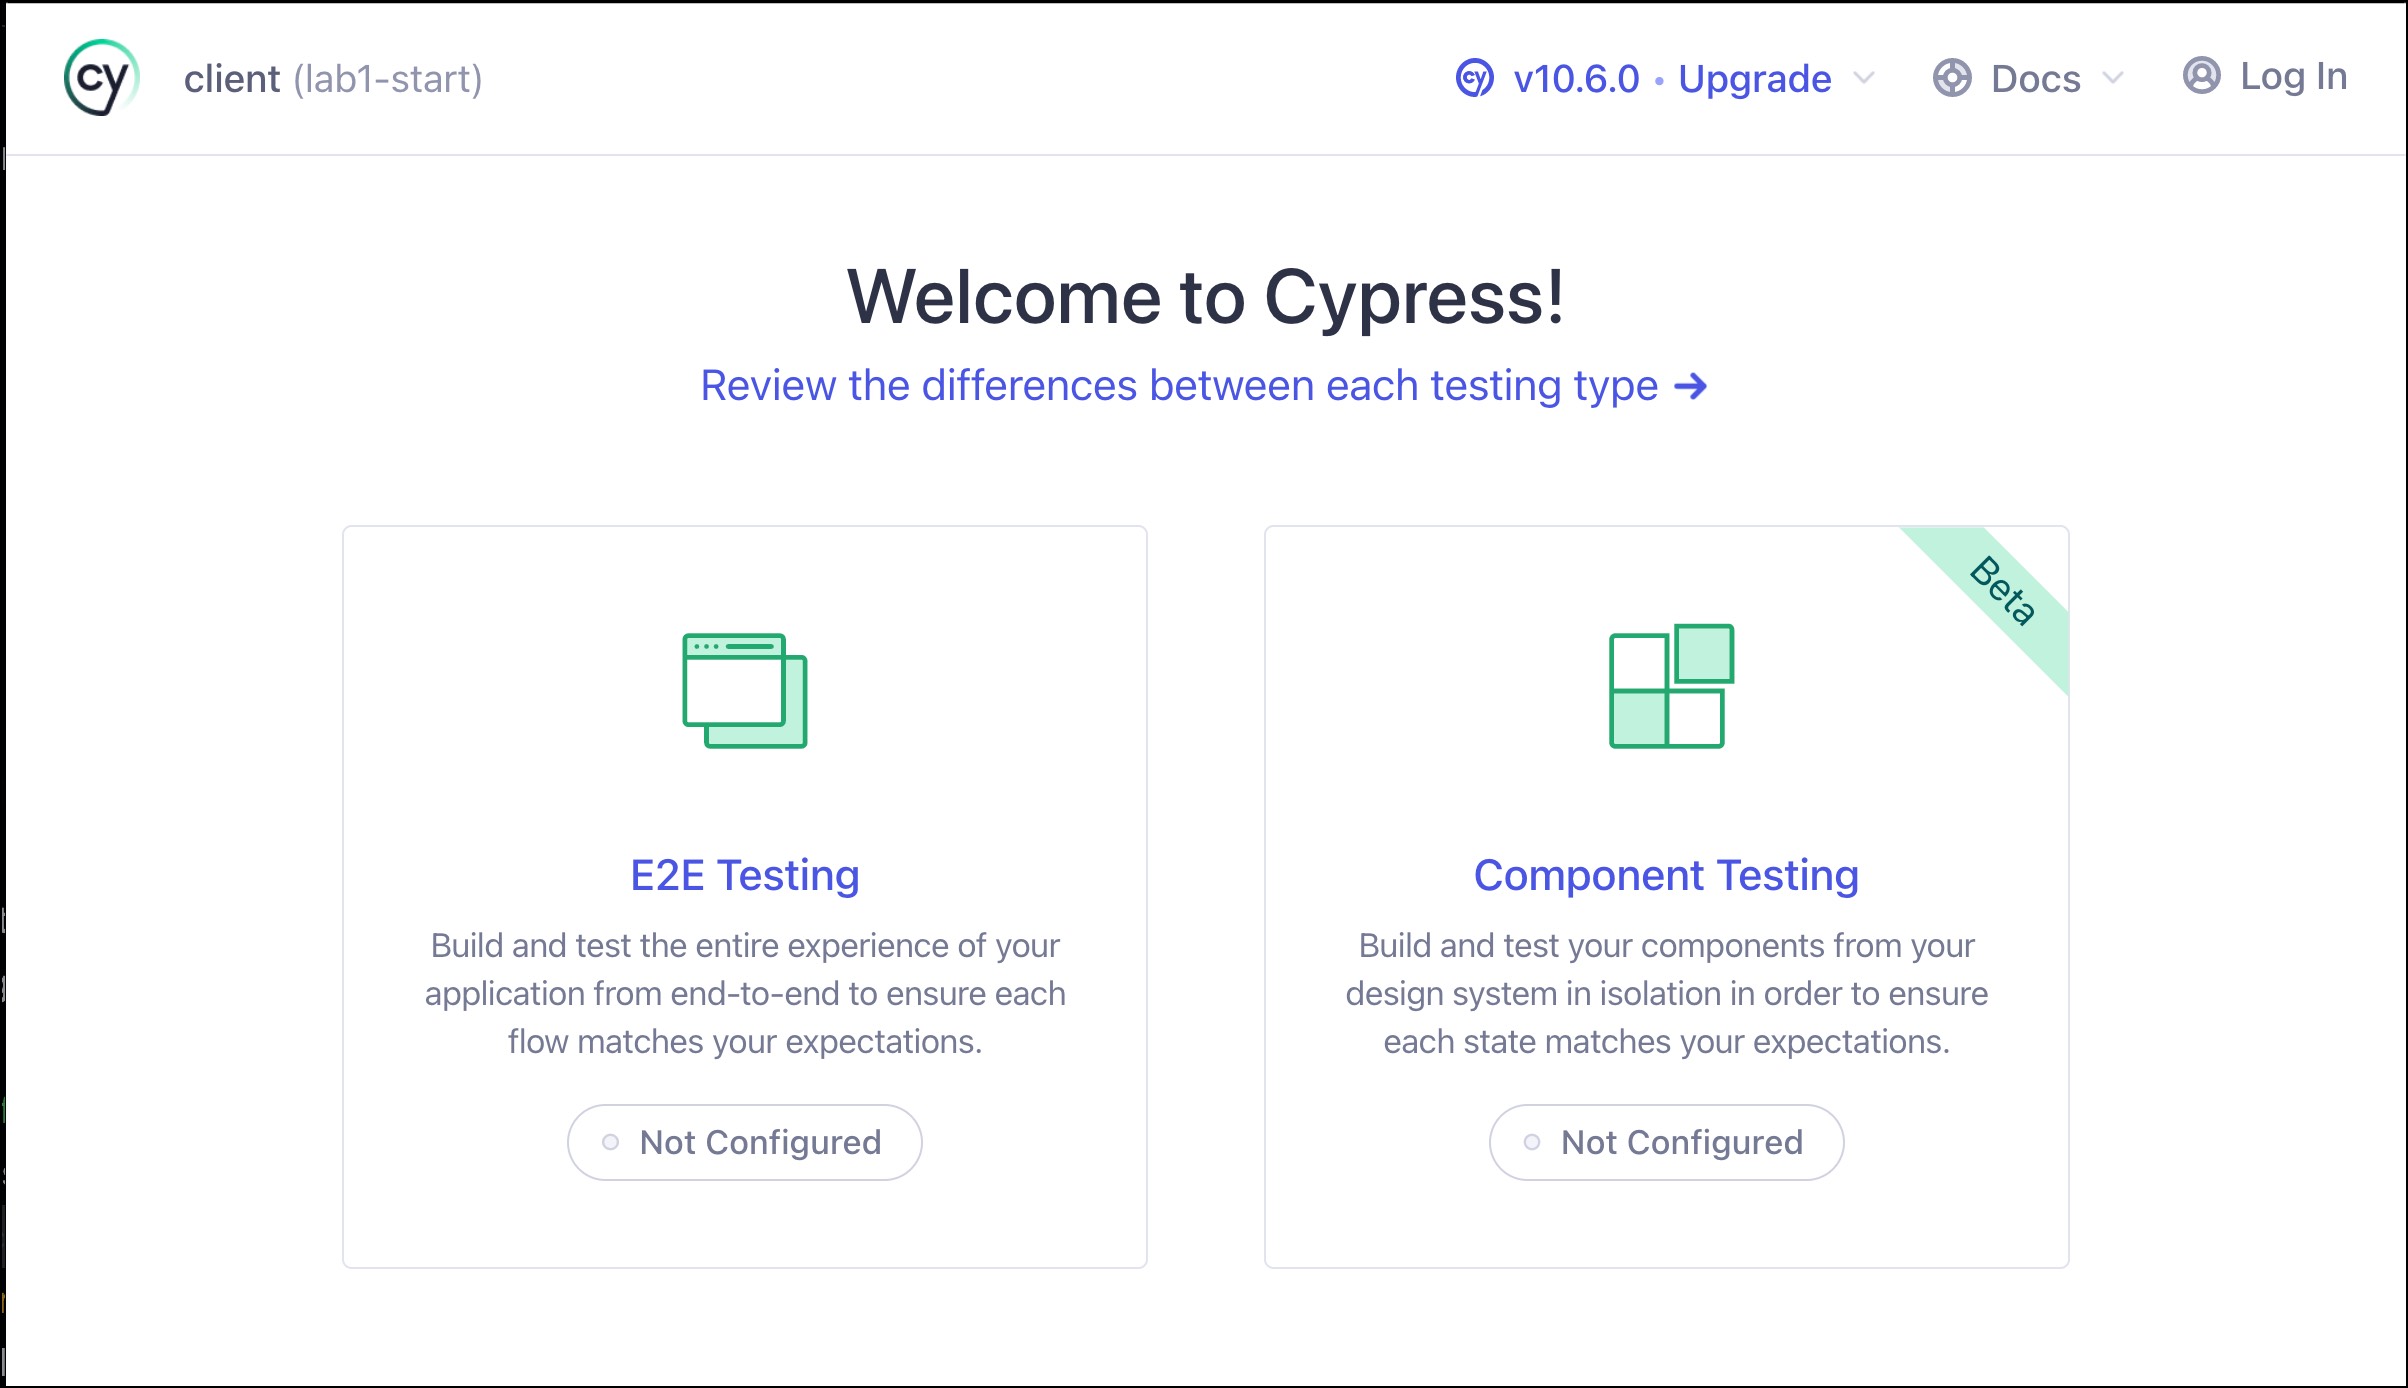
When Cypress launches, you need to choose whether you want to do end-to-end testing or component testing. We will use E2E testing to do API testing.
Next, choose what browser you want to use for testing and click the start button.
Setting baseUrl
The Cypress Heroes API is running at a baseUrl of http://localhost:3000/ . Let's set the baseUrl of our API inside the cypress.config.ts:
export default defineConfig({
  e2e: {
    baseUrl: 'http://localhost:3000',
    setupNodeEvents(on, config) {
      // implement node event listeners here
    },
  },
});
Creating Your First Test
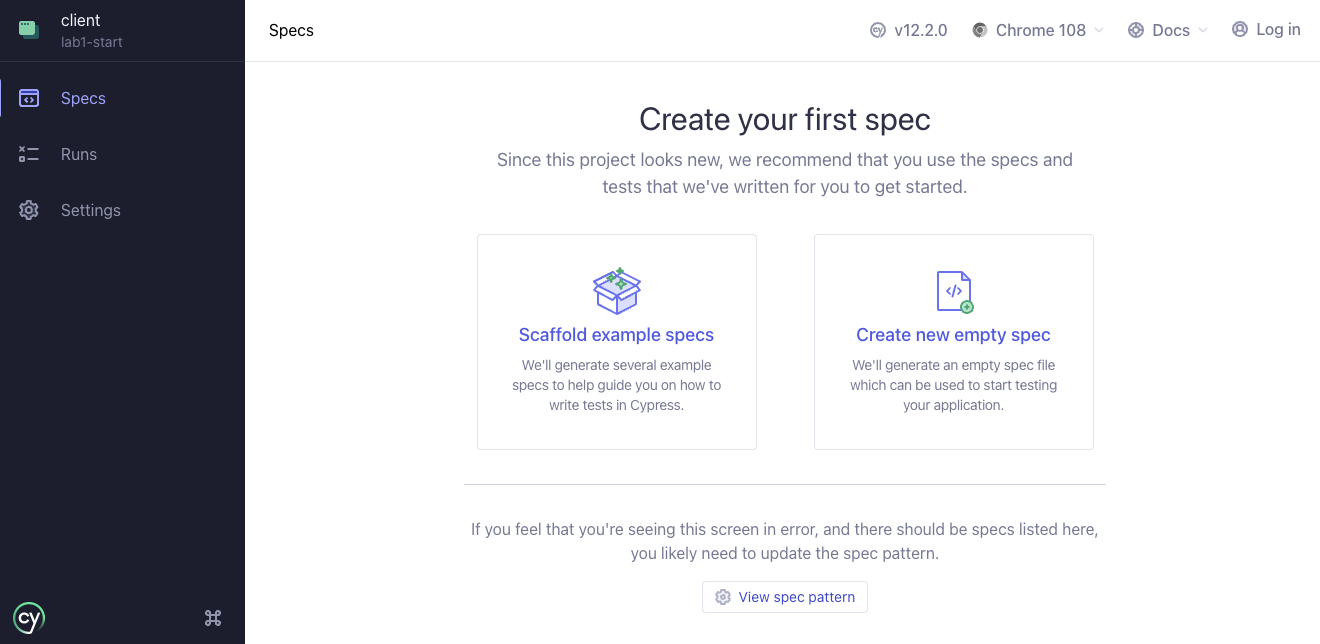
After the browser opens, you will see a screen that says the project is new and that you need to create your first spec. At this point you can either let Cypress scaffold out example specs or generate an empty spec for you. Go ahead and click the Create new empty spec button.
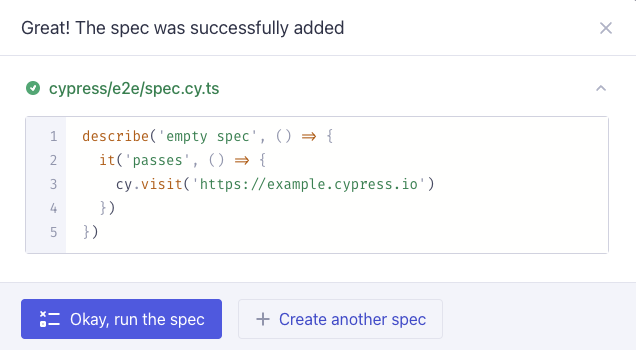
The Cypress app will now prompt you where you want it to create your new spec. You can use the default path but change the name from spec.cy.ts to auth.cy.ts and click Create Spec. You will now see a success messsage saying that the spec was created successfully.
Running Your First Test
Finally you are ready to run your first Cypress tests by clicking the Okay, run the spec button.
Writing Your First Test
Now that you have Cypress fully configured and your first example tests created go ahead and open it in your editor to begin writing your first test.
Using Request
In the spec file, you should see following code:
describe('empty spec', () => {
  it('passes', () => {
    cy.visit('https://example.cypress.io')
  })
})
Though we are technically doing end-to-end testing, we are not going to be using cy.visit() for API testing because we aren't actually visiting a frontend application. Instead we will use cy.request() to make HTTP Requests in our tests. Update your test to make a POST request to the /auth endpoint using cy.request().
describe('Auth', () => {
  it('can authenticate', () => {
    cy.request({
      method: 'POST',
      url: '/auth',
      body: {
        username: 'test@test.com',
        password: 'test123'
      }
    })
  })
})
If you save and re-run the test you will now see Cypress sent a POST request but we aren't doing any assertions.

Not it's time to take the response and assert we are getting the correct status.
describe('Auth', () => {
  it('can authenticate', () => {
    cy.request({
      method: 'POST',
      url: '/auth',
      body: {
        username: 'test@test.com',
        password: 'test123'
      }
    }).then(({ status }) => {
      expect(status).to.eq(201)
    })
  })
})
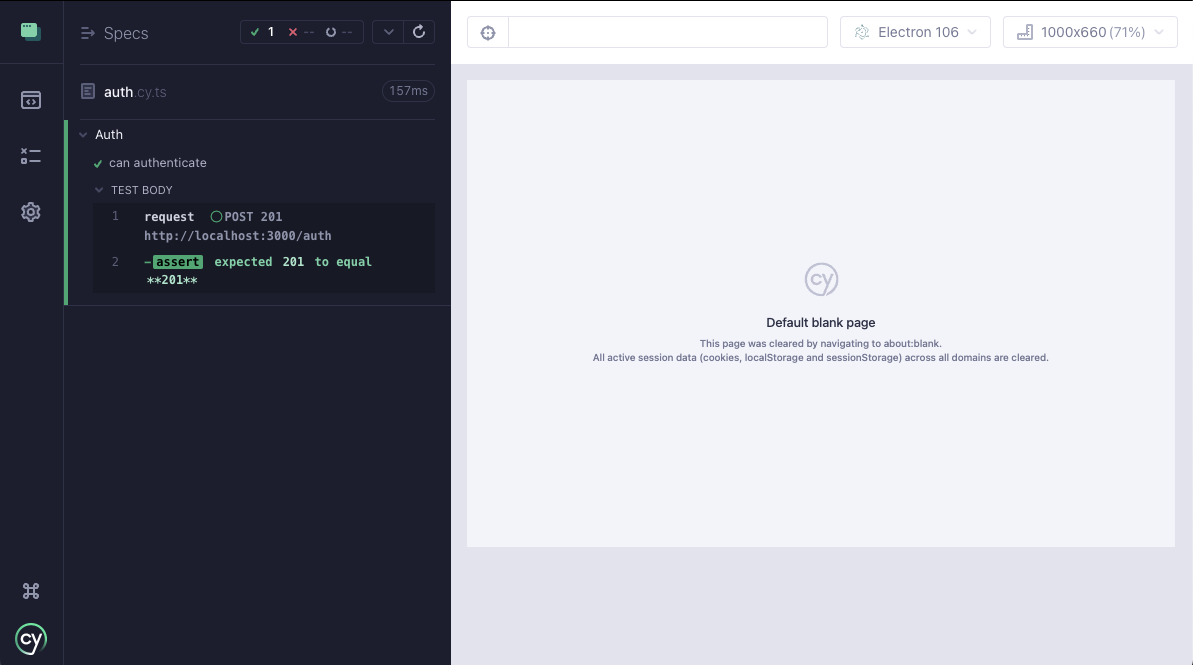
You now successfully created your first request but you may notice the Cypress browser is showing the default blank page. Let's change that now!
Adding Plugins
Up to this point in the workshop we've only used the out of the box features of Cypress. Now is the perfect time to add a community plugin by a Cypress Ambasador to our app.
cypress-plugin-api
You can learn more about the plugin here
To install the plugin we need to run the following:
npm i cypress-plugin-api -D
Now we need to add the plugin to our support file:
import './commands'
import 'cypress-plugin-api'
Now go back to your test file and replace it with the new cy.api() command:
describe('Auth', () => {
  it('can authenticate', () => {
    cy.api({
      method: 'POST',
      url: '/auth',
      body: {
        username: 'test@test.com',
        password: 'test123'
      }
    }).then(({ status }) => {
      expect(status).to.eq(201)
    })
  })
})
You now have a passing test and you will now see the request and response displayed into the browser window.

Testing Response Status
Now that the cypress-plugin-api renders the request and the response in the Cypress app, we can now use the traditional e2e testing methods to validate those requests and responses.
describe('Auth', () => {
  it('can authenticate', () => {
    cy.api({
      method: 'POST',
      url: '/auth',
      body: {
        username: 'test@test.com',
        password: 'test123'
      }
    })

    cy.get('[data-cy=status]')
      .should('be.visible')
      .and('contain', '201')
      .and('have.css', 'color', 'rgb(31, 169, 113)')
  })
})
In the end Authenticating should supply us an access_token so let's make sure the response returns one:
describe('Auth', () => {
  it('can authenticate', () => {
    cy.api({
      method: 'POST',
      url: '/auth',
      body: {
        username: 'test@test.com',
        password: 'test123'
      }
    })

    cy.get('[data-cy=status]')
      .should('be.visible')
      .and('contain', '201')
      .and('have.css', 'color', 'rgb(31, 169, 113)')

    cy.contains('access_token')
  })
})
Extra Credit
- Create tests for all the HerosController methods
Additional Resources
Congrats! You now have the basics for writing test with Cypress. Continue your testing journey by visiting the Cypress Documentation, learn testing concepts in depth in our Real World Testing curriculum, and join our online community on Discord.
Thanks for attending, and happy testing!